Saturday, 8 June 2013

Spiced pineapple and rhubarb Eton mess

Well, I've eaten a lot of rhubarb crumble and custard, the English rhubarb season's still going strong and I had a lot of egg whites hanging around as a consequence.  I also had a stray pineapple kicking around (it arrived unannounced in my fruit and veg box) and so I decided to attempt to combine the two incongruous ingredients.  

I quite like a little spice with both rhubarb and pineapple, vanilla's a must and star anise is a favourite so they made the mix.  The egg whites obviously become meringue (I had a new mixer to use) and from there it was a no brainer, I was two thirds of the way to an Eton mess!

Ingredients

For the meringue;
4 egg whites
200g castor sugar

For the compote;
1 small pineapple
5-6 stalks of rhubarb
3 star anise
1 vanilla pod or 1 tsp extract
Sugar to taste (but you will need quite a lot, rhubarb's very sharp!)

For the mess;
600ml double cream

Directions

1) To make the meringue;  Whisk the egg whites to stiff peaks then add the sugar a little at a time and continue to whisk until silky.  I like my meringues gooey in the middle so I cook at 150C for around 45 minutes, but go lower and longer if you like them crisp.  Just splodge the mix onto baking parchment and then put into the pre heated oven, they don't have to be pretty you're going to crumble them anyway!  Allow to cool and steal one or two (chef's perks).
2) To make the compote;  Cut the rhubarb into chunks and add to a saucepan with a tablespoon or two of water and cook over a moderate heat, it'll release a lot of juice as it cooks.  Peel and core the pineapple and cut it into chunks, add to the pan along with the vanilla and star anise. Add sugar to taste, remember the meringues are very sweet so this compote should remain a little sharp.  Stew for around 30 minutes until the rhubarb has completely lost its texture.  Allow to cool completely.
3) To assemble;  Whip the double cream until stiff (but not butter) and then crumble in the cooled meringue and stir in the compote.  Aim for a ripple effect, don't over mix.

Serve chilled in a small portion, it's pretty stodgy stuff!

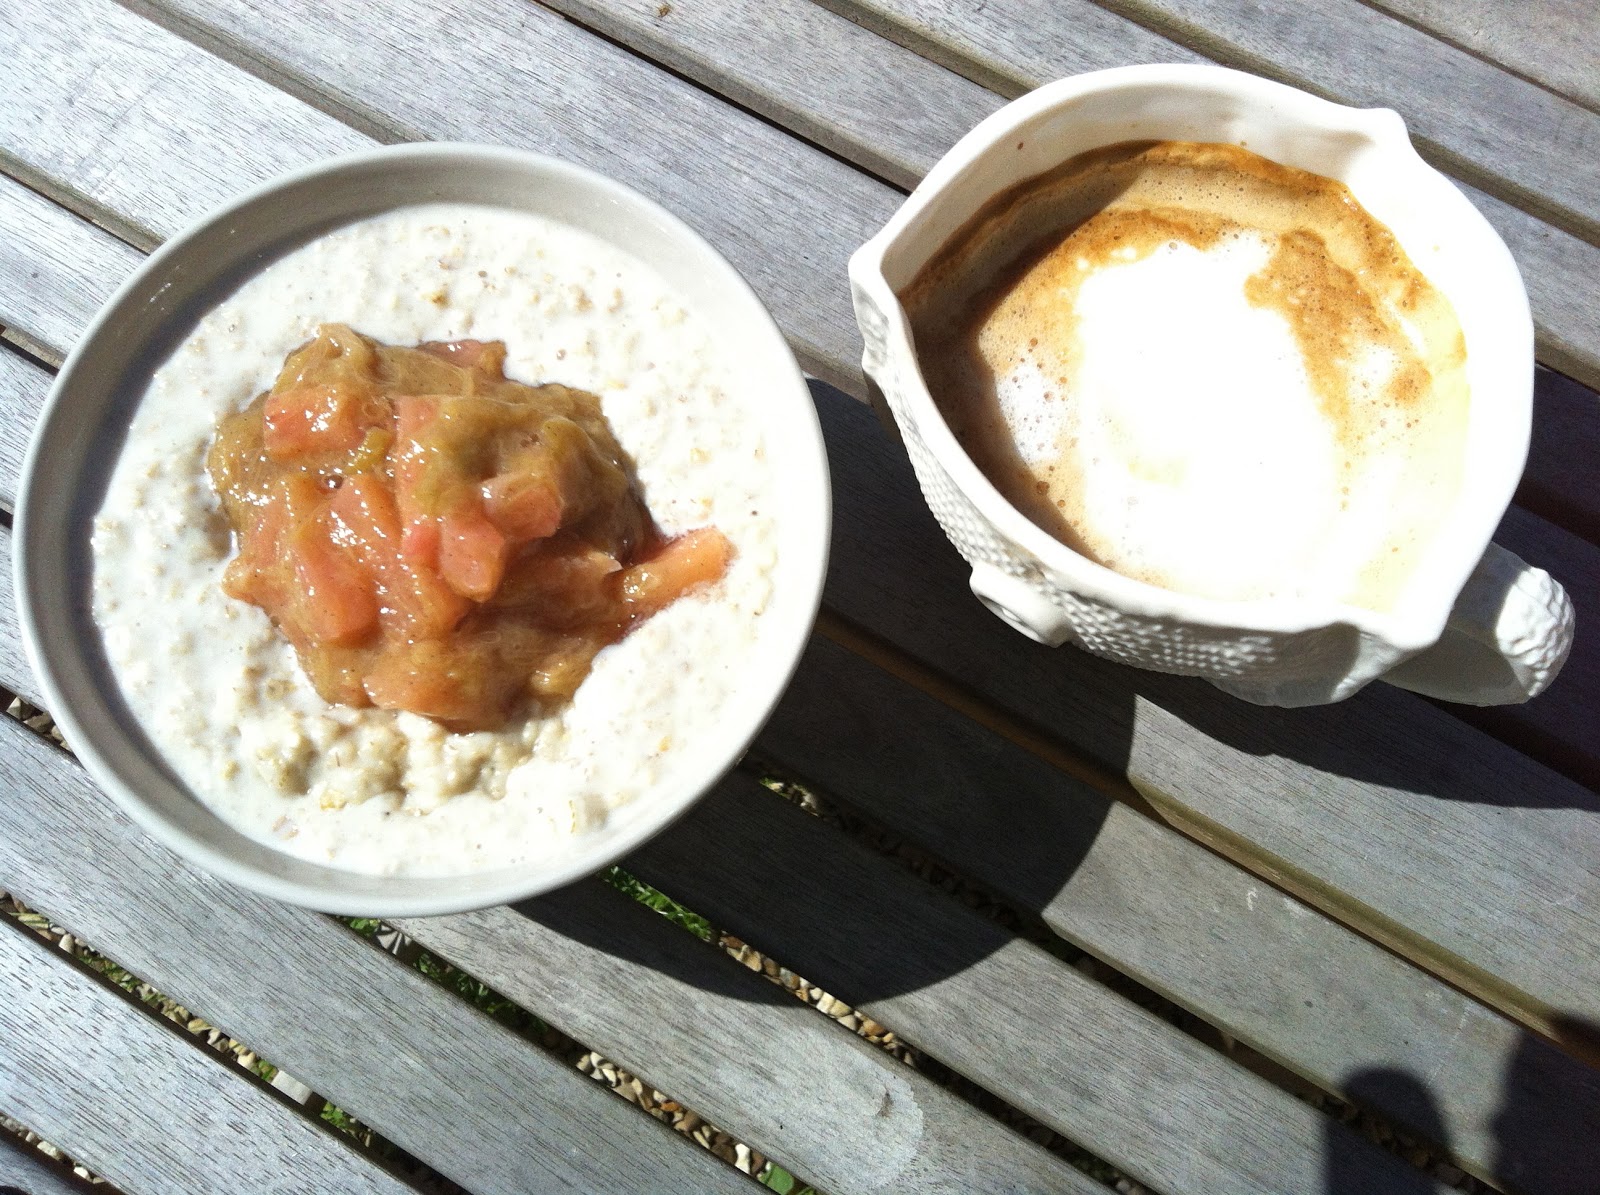
The compote's delicious on its own, I retained enough to go on top of my morning porridge for a treat..


Tuesday, 4 June 2013

My favourite way with asparagus


This really isn't a recipe.  Maybe more of a serving suggestion.  Perhaps a demystification.  Whatever it is it should encourage you to eat more wonderful British asparagus!
Really, don't bother buying imported, tinned, frozen or any other type, wait for the season and enjoy this wonderful ingredient for the few weeks of the year when it's at its best.

My favourite way of cooking asparagus follows....  Treat this wonderful flavour with respect and serve simply!

Ingredients

Asparagus
Olive oil
Lemon juice
Salt and pepper
Parmesan / pecorino shavings (optional)

Directions

1) Preheat a griddle pan or barbecue until smoking hot.

2) Snap off the tough asparagus stalks and discard (or keep for a stock / soup), there's no need to peel.

3) Place the asparagus on a plate to oil and season then put straight onto the griddle pan.

4) Leave the asparagus still until it has definite marks, you're looking for that charred flavour (see pictures).  Turn, char the other side and then place back on the seasoned oiled plate.

5) Squeeze over the juice of half a lemon, toss and add cheese shavings (if you're using them), eat immediately.

The asparagus should soften but still have a delicious bite and have its flavour amplified (not diluted by steaming or boiling).  This is pretty much the only way that I ever treat local British asparagus during the short season, simple but incredible!

Saturday, 1 June 2013

Tandoori style spatchcock barbecue chicken

I find this the best way to cook a whole chicken on a barbecue, no real butchery skills are needed.  Careful cooking is still required, aim for the coolest part of the barbecue (obviously after the coals have burnt right down) I'm a big fan of the kettle types where you can put a lid down and part hot smoke the meat.

I find the flavour of the simple spicing here fantastic with the juiciness of a good quality chicken, you may add yoghurt to the marinade to smooth things out but I quite like this just the way that it is...  I usually serve this with a simple salad and new potatoes roasted whole on the grill.

Ingredients

1 whole chicken
6 cloves of garlic
Large piece of ginger
Juice of 1 lemon
1 tsp of chilli powder (to taste)
1 heaped tsp garam masala
1/2 tsp cumin powder
1/2 tsp coriander powder

Directions

1) First prepare your chicken.  Turn the bird breast side down and cut down both sides of the backbone and remove, flatten the whole chicken with the palm of your hand and slash the breasts and thighs/ legs down to the bone in several places.

2) Blitz or grate the ginger and garlic to a paste (I never peel my ginger but that's largely due to laziness) and combine with all of the spices, lemon juice and a good grind of salt and pepper.

3) Smear the spice mix all over the chicken and leave to marinade for as long as you have (overnight in the 'fridge or a few hours out of the fridge) ensure that it's up to room temperature prior to cooking.

4) Place the chicken breast side up on the barbecue keeping a close eye and moving regularly, you should cook it for most of the time this way up to avoid drying or burning the breasts.

5) Depending on the heat of your barbecue the chicken will take 20-30 minutes to cook and a further 10 minutes to rest.  You can check the cooking with a skewer or meat thermometer into the breasts and thighs, the juices should run clear.

I bring the chicken to the table whole and joint it for my guests, real finger food, with extra garam masala and a wedge of lemon for those who like a little freshness.

Don't be scared this is very achievable, and if you don't fancy the barbecue option it's great under a grill or in a hot oven!


Saturday, 25 May 2013

Orange and fennel salad

Another quick summer salad post...

Another classic mix of ingredients...

Another recipe so simple that there's practically no excuse to not try it...

This is a lovely, crunchy, 'different' salad that's great with fish, cold meats or just on its own as a snack. I slice the fennel by hand, it has to be really quite thin so the brave amongst you may use a mandolin, I refuse to own one as I'm still mentally scarred by an incident akin to skin graft harvesting suffered when using one as a child (responsible 1980s parenting on display).

Ingredients

1 orange (blood oranges are great when in their disappointingly short season)
1 head of fennel
Good quality olive oil, salt and pepper

Directions

1) Remove the whispy herb top from the fennel and retain, remove the root / base and tough outer leaf. Slice the fennel very thinly (see above, try to avoid blood loss).

2) Segment the orange over the salad bowl (top / tail and slice down removing all peel / pith from the orange and then cut between each segment, squeeze the leftovers to extract any juice into the salad).

3) Season sparingly and then add a good glug of olive oil, taste for balance and adjust seasoning as necessary.  I like mine quite peppery, but that's a very personal thing.

4) Finely chop the fennel herb and sprinkle over the top of the salad in a vague attempt to make it look pretty.

This is another salad that's different but just as good after 24hrs refrigeration, another great reason to try it!

Enjoy and share...

Thursday, 23 May 2013

Tomato, mint and caper salad

A nice straightforward summer salad using the best of what's in the garden (and the store cupboard).

I love this salad with barbecues, the mint and cider vinegar add a delicious garden freshness and cut through the richness of the meat.

As ever this is more of an idea than a recipe and can be used as a starting point to add to / substitute ingredients and make it your own (onions / olives / anchovies / garlic / lemon juice / olive oil all work well).

With a dish this simple it's really important that the tomatoes are super ripe and fresh, only make it in season and buy the best that you can afford.

Ingredients

Tomatoes to fill a dessert bowl
Tblsp capers (brined, salted or pickled are all OK here)
Small bunch of mint leaves (stalks discarded)
Tsp extra virgin rape (canola) oil
Tsp cider vinegar

Directions

1) Chop tomatoes to bitesize pieces, even if they're small cut them in two as it allows the dressing to coat / mix with the juices, add a little salt (but remember the capers will also season).

2) Finely chop the mint into ribbons (easier if rolled up into a 'cigar' first).

3) Add the tomatoes, mint and capers to the bowl with the vinegar and oil, combine well and serve.

The salad's delicious fresh but is also great the day after, the flavour will have changed and combined but not at all in a bad way!

Wednesday, 15 May 2013

Home cured salt beef

This is a firm favourite in our house and is another one of those homely recipes that requires a little planning ahead but little actual work.  

Salt beef / corned beef is a great first cure to try at home, it will always work, it's inexpensive and you can play adding ingredients and flavours to your heart's content.

I tend to use brisket as I think that it has a wonderful flavour and has not yet become 'trendy' enough to be expensive.

There are so many variations to the basic method here that I'll write my simple version with optional additions as we go...

Essential ingredients;

1 piece of brisket at least 1kg in weight
Around 200g salt (table is fine, we're looking for the chemical effect rather than delicate seasoning here)
Around 200g sugar, again any variety is fine, you can play with flavours.

Optional extras (for the cure);

Allspice
Cinammon
Black pepper
Coriander seed
Mustard seeds / powder
Bay
Rosemary
Thyme
Chilli
Cloves
Almost anything else that you'd like to try!

Optional extras (for the cooking);

2 carrots
1 onion
2 sticks of celery
1 tblsp english mustard
Beef bones

Directions

1) Mix together the salt /sugar and any other cure ingredients that you wish to try, they will only quite subtly flavour the meat.  Totally cover the meat in the cure (in a non-metallic dish) and refrigerate for 5-10 days.  You will notice water coming out of the meat and collecting in the container, strain this off and add more of the curing mix if you like a stronger flavour.

2) After 5-10 days your beef should resemble that pictured below, rinse off the salt and place in a pan with enough cold water to just cover.  If you add stock veg/bones at this point you end up with a delicious beef stock.
3) Bring to the boil and simmer for 3 hours skimming any scum that rises to the surface.

4) Remove the beef and strain the stock.

Variations

To serve warm;  I simply add mustard to the stock (taste, you made need to water down if too salty) and boil some potatoes and vegetables in the same stock until just tender, I then serve these with thick slice of the beef and a ladleful of the stock.

To serve cold;  I usually allow the beef to cool in the stock and then remove, chill and slice thinly with a salad or quick pickle.  Retain the stock, adjust the seasoning (again if it's too salty water it down) and use as you see fit, mine went to make the nettle soup on my previous post!
Not fancy or posh, this is just another example of the type of food that I love to cook and serve at home.

Monday, 13 May 2013

Nettle soup

I love this simple spring soup, it really is a 'something for nothing' dish.

To make this soup you need a good hearty stock base, you could use cubes but I like to make my own, it feels very virtuous.

My basic stock recipe is left over roast bones (I used the carcass from a  barbecued chicken here) 2 carrots topped and split, one onion split with the skin left on and a few sticks of celery, I add a bay leaf and a few sprigs of thyme along with about 10 whole peppercorns and enough cold water to just cover the bones.  I bring to the boil, skim and then simmer for a few hours before straining, I never salt until I know how I'm going to use the stock and how much I'm going to reduce it, much more flexible that way...  For example, I used this stock to cook a piece of home cured beef before reserving it for this recipe, it added more flavour but I was very glad that I hadn't salted the stock before I'd started.

Ingredients

1 litre of good strong stock
Equal volume of fresh stinging nettle tips (best in spring for flavour and avoiding stalks as they can be very fibrous)

Directions

1) Bring the stock to the boil and add the washed nettles, return to the boil and simmer a couple of minutes, no longer or you may lose the wonderful colour.  Blitz, strain through muslin if you want it to be posh, adjust the seasoning and serve.

That's it, nowt to it.

The flavour's wonderful, very green, a little like peppery watercress or rocket and quite herbal.  I'd urge anyone to try it, it will really surprise you, just take precautions and wear gloves when you're picking those stingers...

Please, enjoy and share!